Create a verifier
Open Verifiers from the Maintenance Experience navigation. Fill the create form with the verifier's display name, initials, credential reference, and optionally their organisation, licence number, and a contact photo.
The initials field is used in compact table views and in some print formats. Use the same initials your verifier would write when countersigning a physical record.
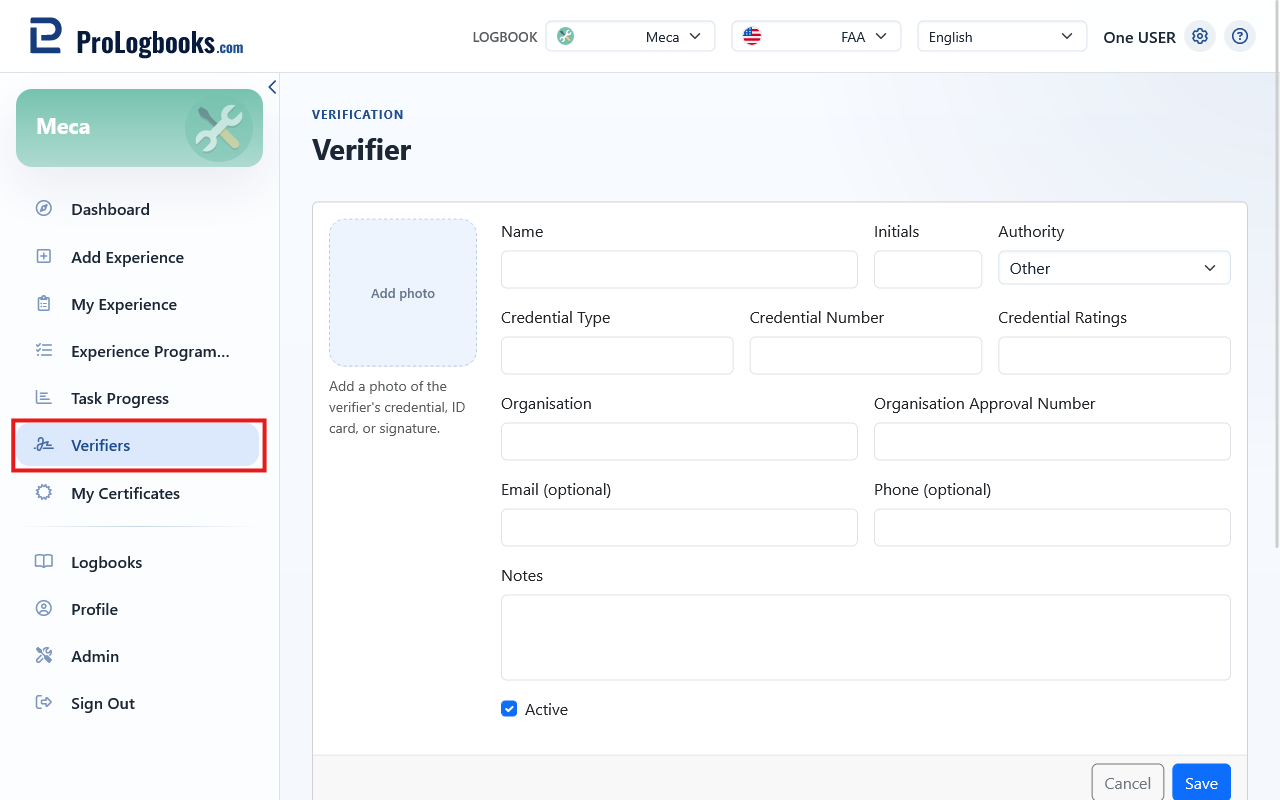
- Open Verifiers.
- Click Add Verifier.
- Enter the display name.
- Enter the initials.
- Add credential or licence details if available.
- Upload a photo if required.
- Save the verifier.
Edit and delete verifiers
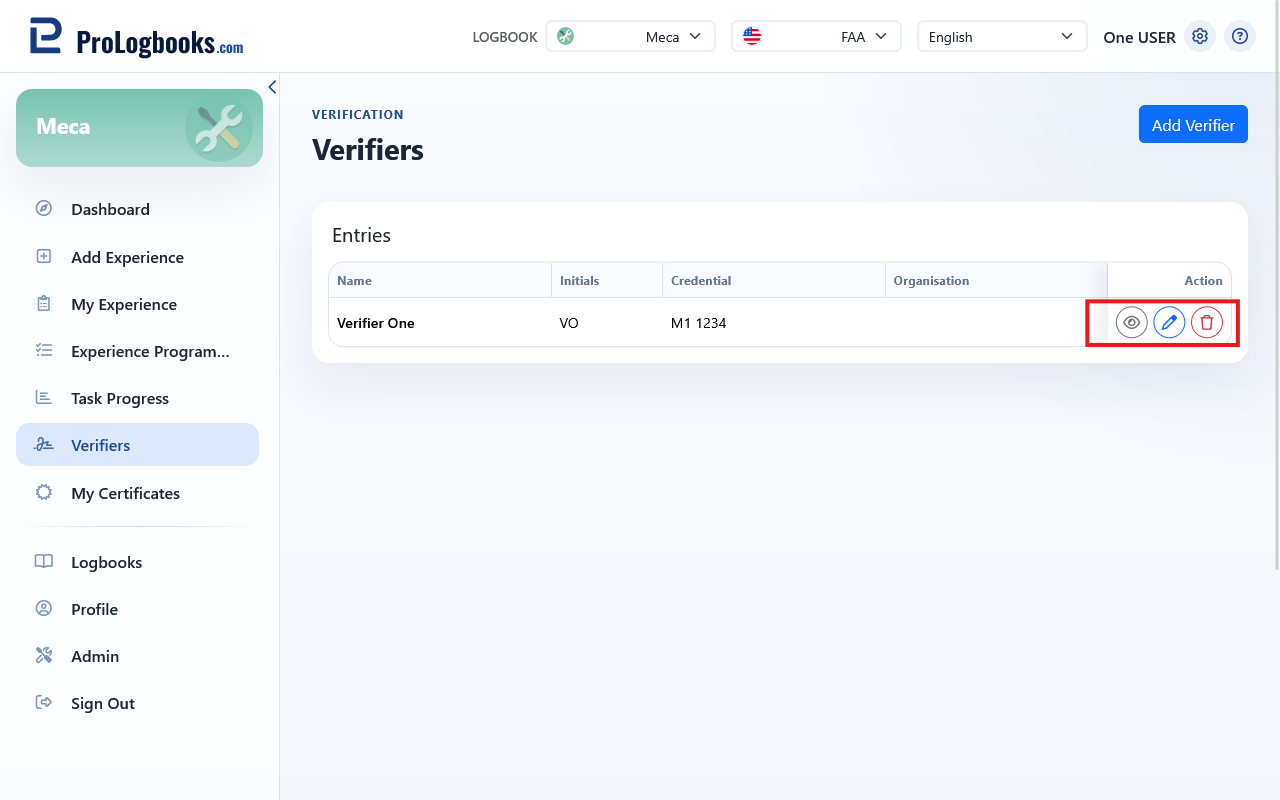
Use the edit icon in the verifier row to update any field. The delete icon is only shown when the verifier has not yet signed off any entry. Once a verifier is referenced in a sign-off, they remain in the system to preserve the integrity of your records.
- Verifier photos are stored securely and are only accessible within your logbook.
- Delete is hidden when the verifier has at least one sign-off record.
If something goes wrong
- If the delete icon is not visible, the verifier is already referenced by a sign-off.
- If the photo upload is rejected, use a JPG, PNG, or WebP file within the upload size limit.