Before you start typing
Always check the active logbook before you start. The flight will be saved into the logbook that is currently selected in the workspace, not into every logbook on the account.
At the top of the form, the current view badge and description explain which layout you are filling. Use the layout preview button if you want to understand how the active view expects time and totals to be interpreted.
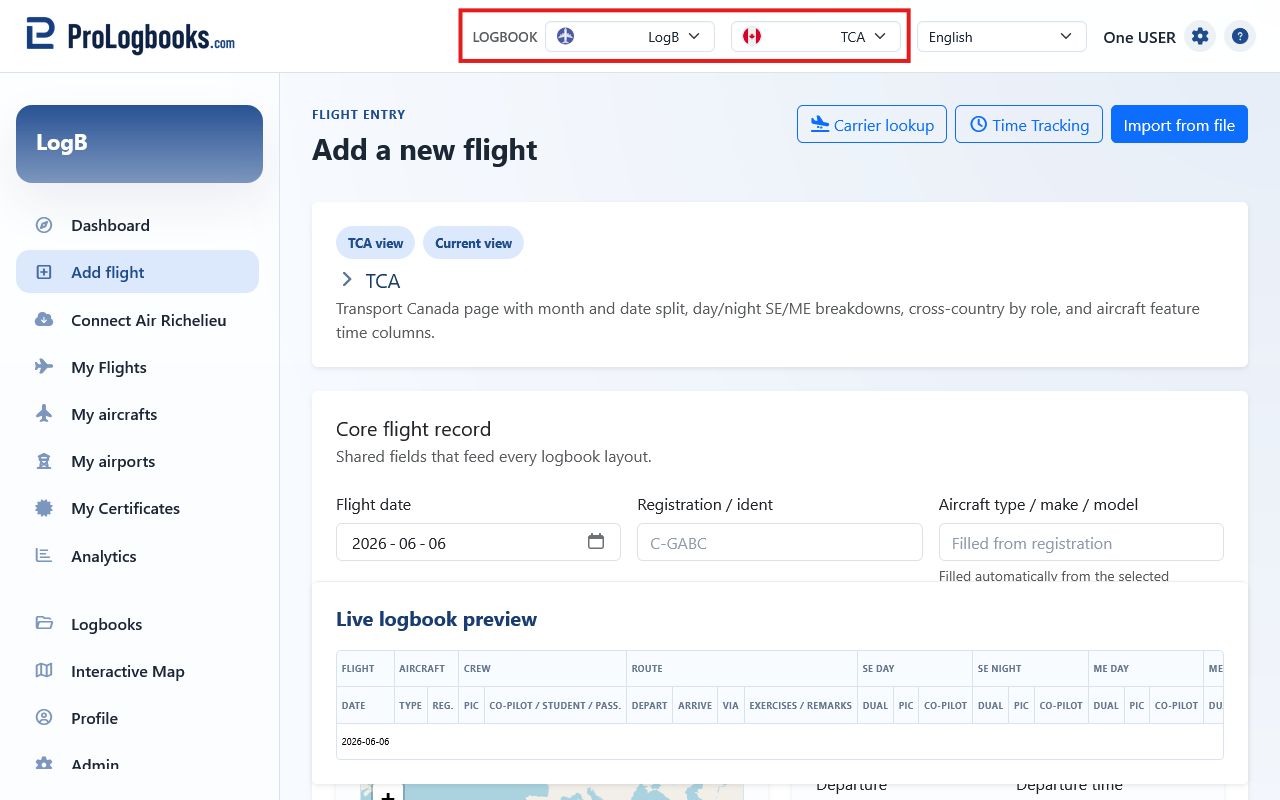
- Confirm that the correct logbook is selected in the workspace picker.
- Open Add flight from the dashboard, from the header shortcut, or from any page that offers the action.
- Read the view label before you continue so you know whether the page is currently showing an EASA, FAA, Transport Canada, or another layout.
Use Import from file when the flights already exist elsewhere
The Import from file button in the page header opens the file import workflow for the current logbook. Use it when the flight data already exists in a CSV, TSV, or Excel file and retyping each row manually would take too long.
This button does not save the current form. It takes you to the upload and column-mapping page so you can prepare a batch, review the staged preview, and then import those rows into My Flights.
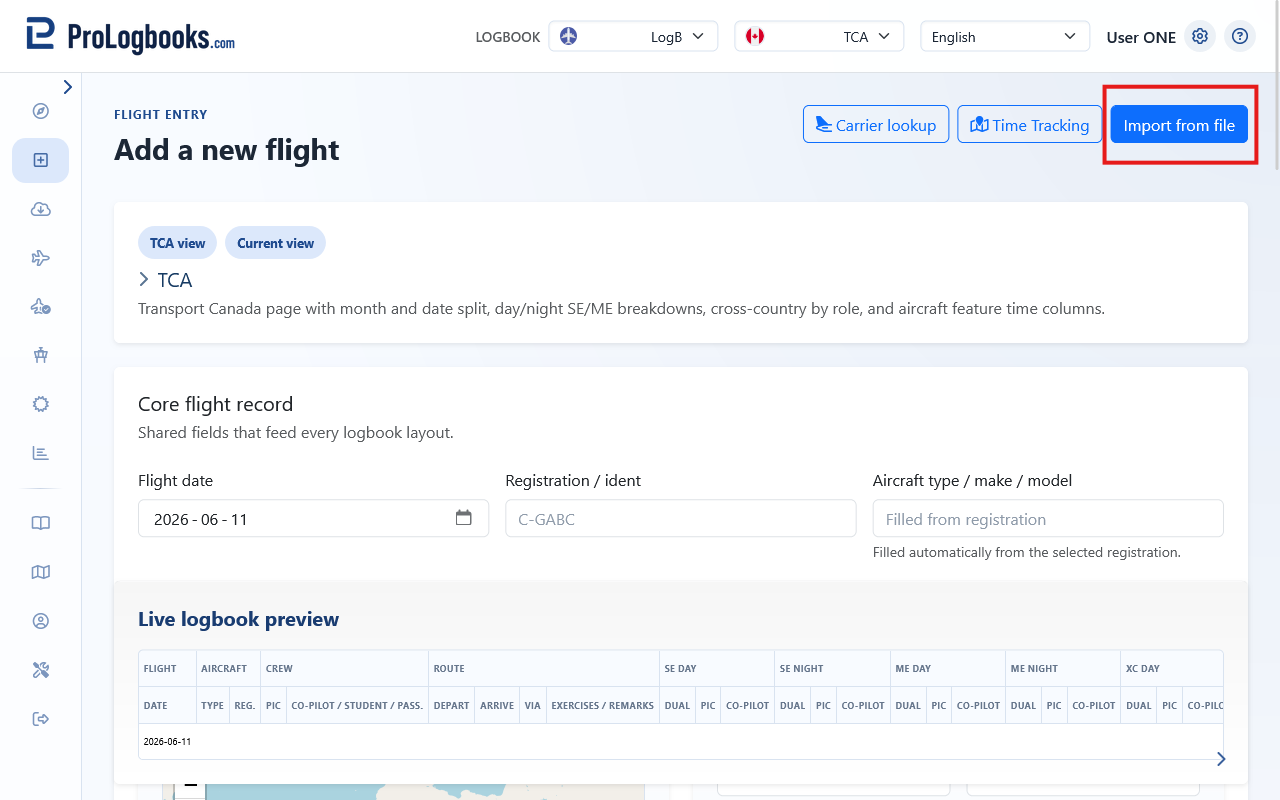
- Use Import from file before you start typing if the flights already exist in another file.
- Finish the current manual entry first if you have already started entering one flight on this page.
- Return to Add flight after the import only when you want to create or correct one single record manually.
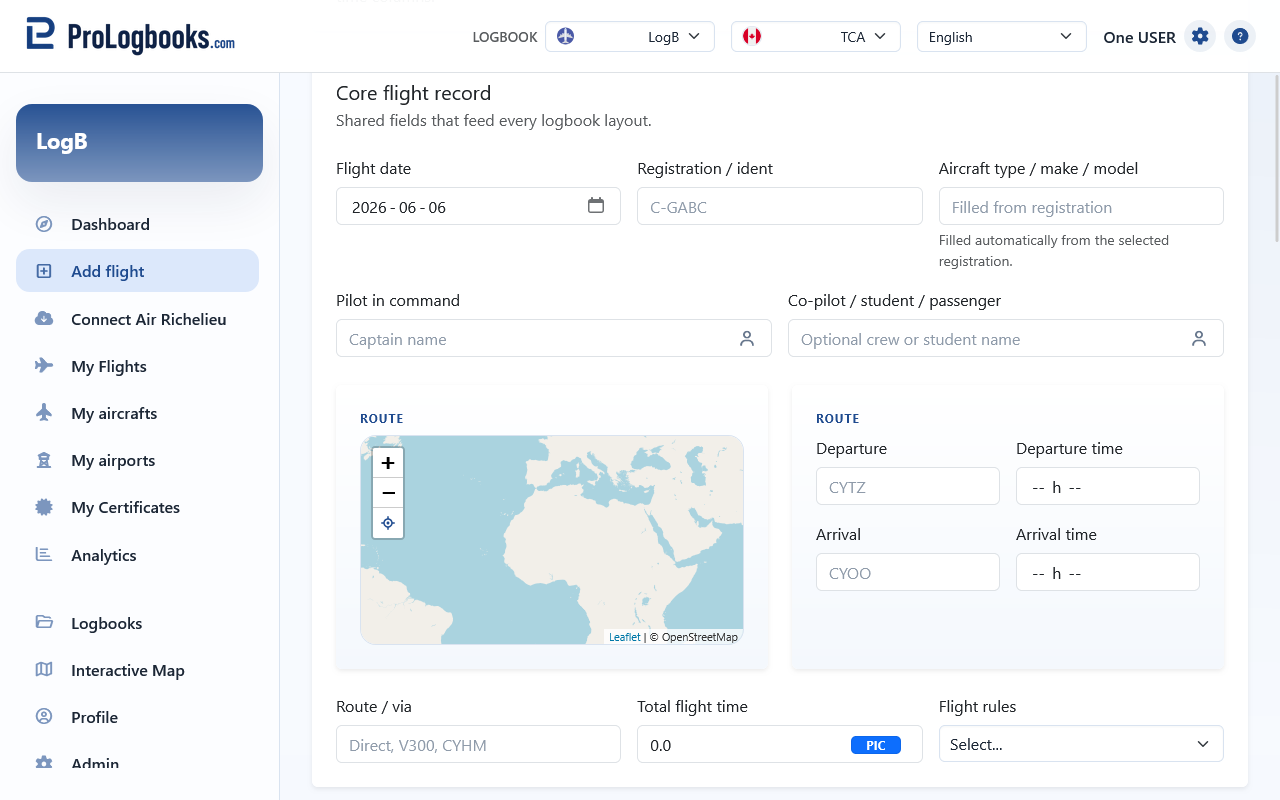
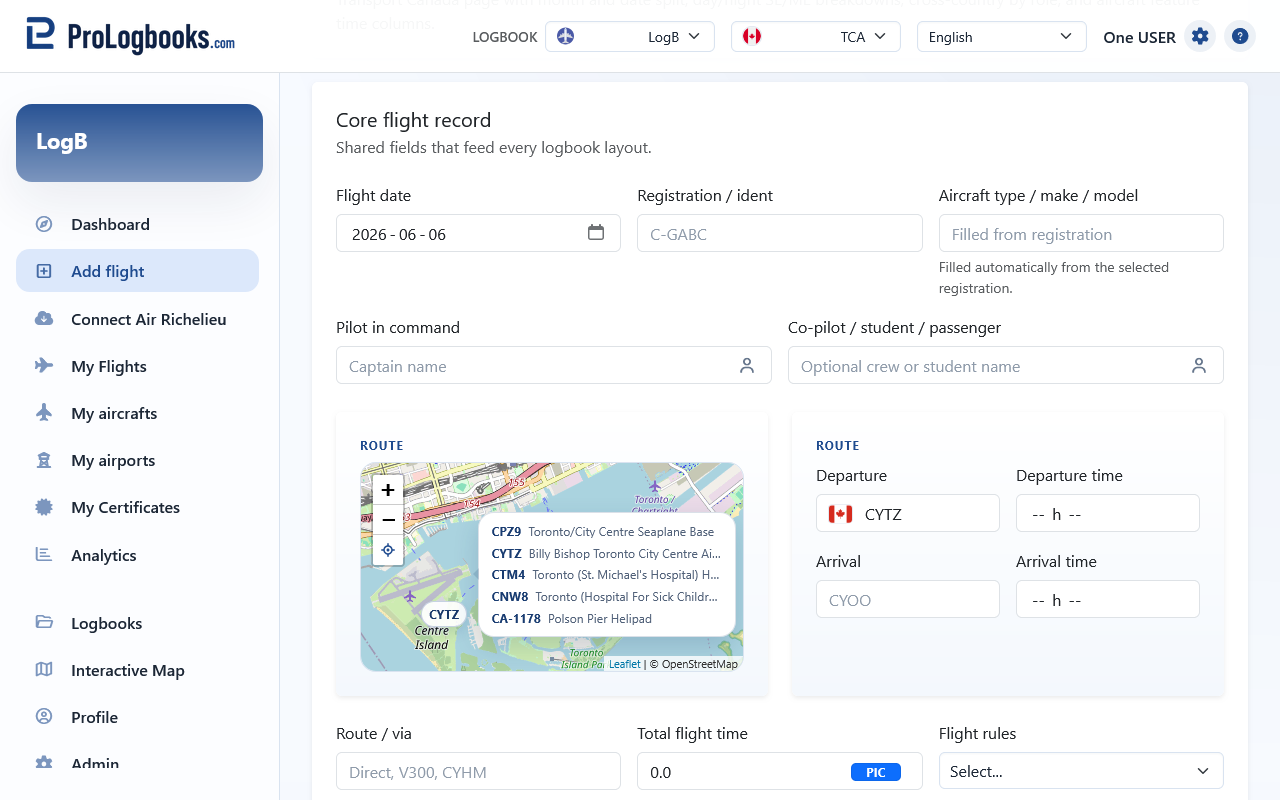
Complete the shared flight details first
Start with the shared fields such as flight date, aircraft registration, departure, arrival, and times. These fields are the foundation of the record and are reused across the different views.
When you select a known registration or airport, the form can fill related data for you. This reduces typing and helps keep your records consistent from one flight to the next.
- Enter the flight date.
- Select the aircraft registration. If the registration is not available, create it first on My aircrafts and then return to the form.
- Select the departure airport and the arrival airport. If an airport is missing, create it on My airports and return to the form.
- Enter the departure and arrival times or any other base time values shown in the active form.
- Review any aircraft type, route, or auto-filled values that appear after your selections.
- Fill remarks only when they add useful information for later review.
- Use the exact departure and arrival times shown in your source record when time fields are required.
- If a field is optional, leave it blank instead of entering placeholder text.
- If you see an aircraft type field that is read-only, fill the registration first so the system can resolve the linked aircraft information.
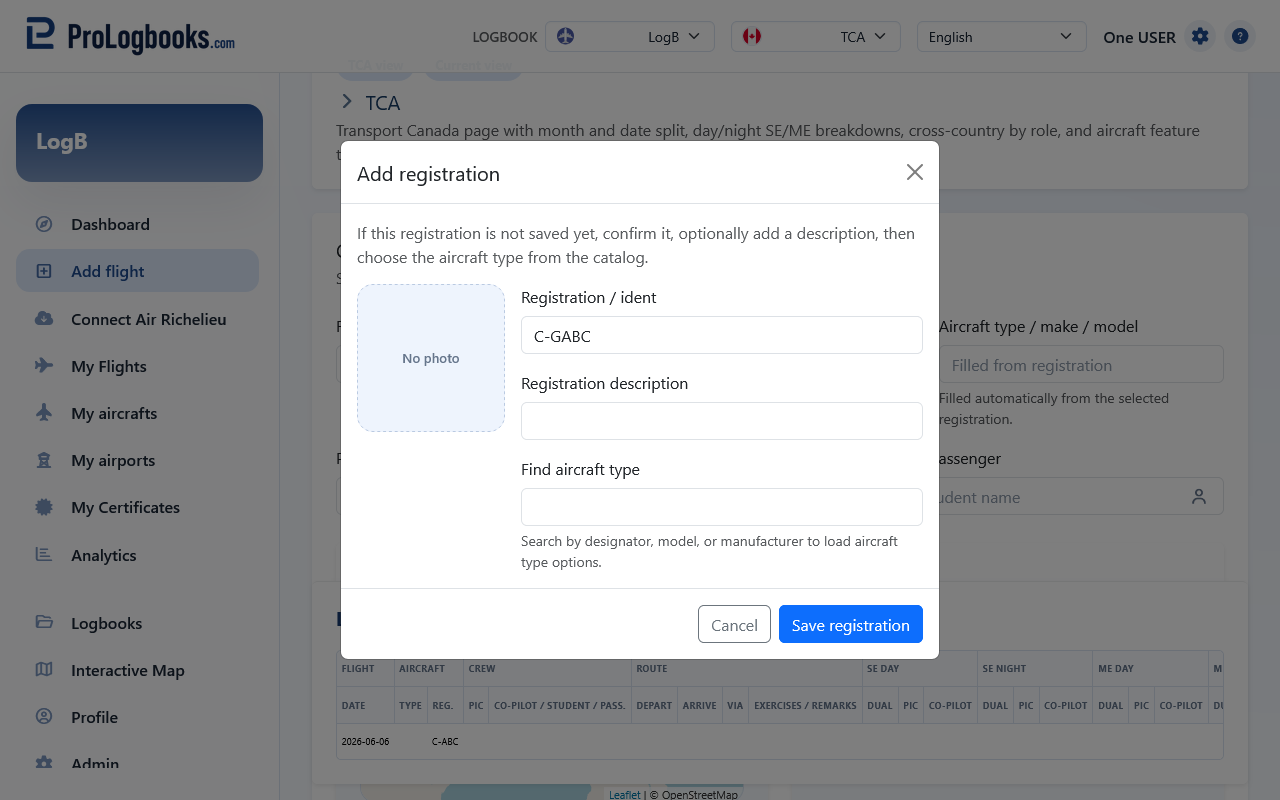
Create a missing aircraft registration before saving the flight
If the aircraft registration you need does not appear in Add flight, create it from My aircrafts before you finish the flight entry. Registrations belong to the current logbook, so confirm the same logbook is selected before you create the registration.
The registration card asks for the registration value, an optional description, and the linked aircraft type. The linked type is important because it lets Add flight resolve aircraft details automatically after you return to the form.
- Leave Add flight only after you have noted any values already entered.
- Open My aircrafts while the same logbook is selected.
- Enter the registration exactly as you want it to appear in flight entries.
- Add a short description if it helps distinguish the aircraft.
- Search for the aircraft type and select the correct result.
- Save the registration, then return to Add flight and select it in the aircraft registration field.
Add the aircraft type if it is not found
When the aircraft type search on My aircrafts does not find the aircraft you need, use the create-new aircraft type option. This creates the type record first, then lets you link the new registration to it.
Enter a designator or name, then complete the required type details such as engine type, aircraft category, engine count, and weight class. Use the best matching values from your aircraft documents or normal logbook source, because those values will be reused by future entries.
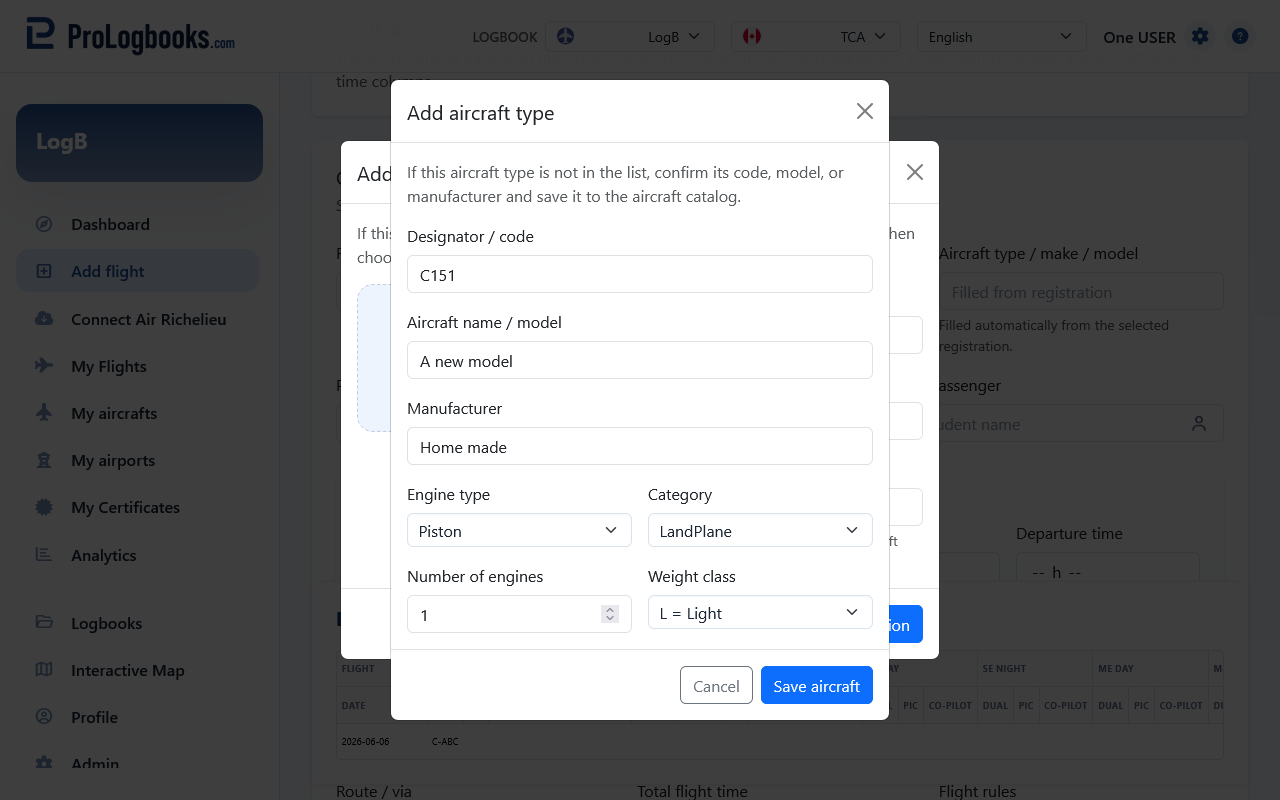
- Choose the create-new aircraft type option from the aircraft type search.
- Enter the aircraft designator or aircraft name.
- Add the manufacturer if you know it.
- Select the engine type, aircraft category, engine count, and weight class.
- Save the aircraft type.
- Confirm the new type is selected for the registration, then save the registration.
Create a missing airport before saving the flight
If a departure or arrival airport is missing from Add flight, create it from My airports before saving the flight. Airports also belong to the current logbook when they are custom records, so create them in the same workspace where the flight will be saved.
Use a clear airport name that you will recognize later in search results. If the airport has an official code in another source, include enough detail in the name to avoid confusing it with another location.
- Open My airports while the same logbook is selected.
- Enter the airport name.
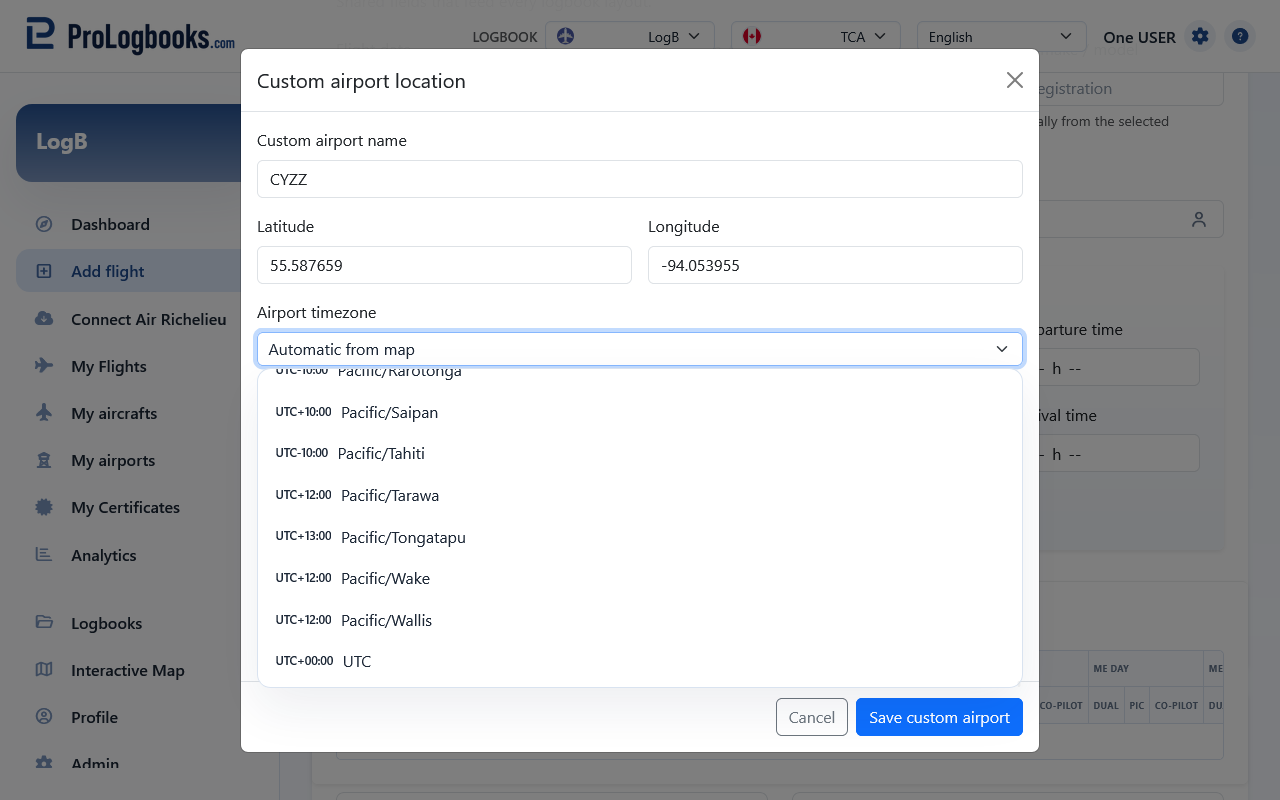
- Leave timezone on automatic unless you need to choose a specific IANA timezone manually.
- Use the map to place the airport at the correct location.
- Save the airport, then return to Add flight and select it as the departure or arrival airport.
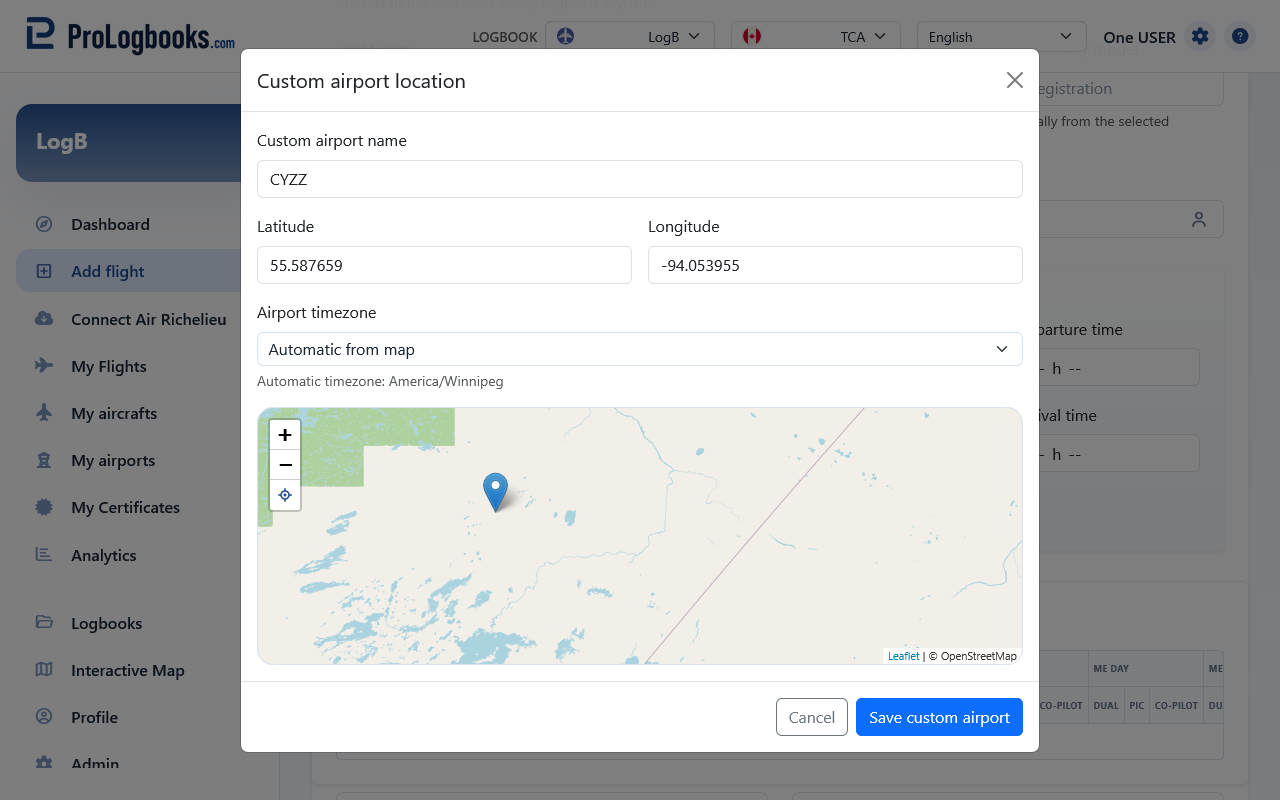
Place the custom airport accurately on the map
The custom airport map stores the latitude and longitude used later by route maps, visited-airport maps, timezone handling, and other location-based features. A rough placement may be enough for a private strip, but avoid placing the airport in the wrong city or region.
When automatic timezone is selected, the system uses the saved location to resolve the airport timezone. If timezone resolution fails, adjust the map point or choose the timezone manually before saving.
- Zoom the map close enough to place the marker deliberately.
- Set the marker on the runway, landing area, or best known airport position.
- Check the latitude and longitude status shown by the page.
- Confirm the timezone status before saving.
- Return to Add flight and review the selected airport after it fills the form.
Choose the flight time role and flight rules carefully
The role selector beside Total flight time tells the form which role should receive the block time first. Use it for the main capacity you flew in for that entry, then fill any other specific time fields separately when the same flight also included another duty.
For logbook purposes, night is the period between the end of evening civil twilight and the beginning of morning civil twilight, as published in the Air Almanac. When departure or arrival time can be checked against the airport position, the form shows a sun or moon icon beside the time field and uses that result to decide whether night breakdown fields should stay visible.
Flight rules describe the operating rule set for the entry. Choose the value that matches the way the flight was actually conducted or filed. If your source does not clearly state the rule set, it is safer to leave the field blank than to guess.
Flight time role labels beside Total flight time
-
PIC
Pilot in command time
Choose this when the recorded total flight time should primarily count as PIC time for this entry.
-
SIC
Second-in-command time
Choose this when the recorded total flight time should primarily count as SIC time.
-
STUD
Student dual training time
Choose this when the recorded total flight time should primarily count as student training received.
-
INST
Instructor time
Choose this when the recorded total flight time should primarily count as instruction given.
Flight rules labels
-
VFR
Visual Flight Rules
Use for flights operated under visual flight rules. As a METAR-style weather category, VFR normally means ceiling at or above 3,000 feet AGL and visibility at or above 5 statute miles.
-
MVFR
Marginal Visual Flight Rules
Use when your source or procedure identifies marginal visual conditions and you want to keep that distinction. As a weather category, MVFR is typically ceiling from 1,000 to 3,000 feet AGL and/or visibility from 3 to 5 statute miles.
-
LIFR
Low Instrument Flight Rules
Use when your source identifies low instrument conditions and you want to keep that distinction. LIFR is a lower IFR weather category: ceiling below 500 feet AGL and/or visibility less than 1 statute mile.
-
IFR
Instrument Flight Rules
Use for flights operated under instrument flight rules. As a weather category, IFR is typically ceiling from 500 to below 1,000 feet AGL and/or visibility from 1 to less than 3 statute miles.
Use the route map to pick nearby airports
The route map on the left side of the form is not only a visual preview. You can use it during Add flight and during normal flight editing to look up airports near a point on the map and fill the airport fields faster.
On a desktop computer, right-click the map near the airport you want. On a phone or tablet, tap the map instead. The page opens a list of nearby airports for that point.
When you choose one airport from that list, the form fills the departure field first. After departure already contains a value, the next map selection fills or replaces the arrival field. If you need the next selection to go back into departure, clear the departure airport field first and then pick again from the map.
- Open Add flight, or open Edit from an existing saved flight.
- Move to the route map card on the left side of the form.
- Right-click the map on desktop, or tap it on a touch device, near the airport you want to use.
- Wait for the nearby airports list to appear, then select the correct airport.
- Confirm that the airport code and coordinates were filled into the expected field before you continue.
- The first map pick normally fills departure when departure is still empty.
- If both airports are already filled, another map pick replaces the arrival airport.
- If the airport you need is not listed, use the normal airport search or create the airport in My airports first.
Finish the view-specific cards and save
After the core section, continue through the cards that match your active view. Enter only the values that belong to the flight you are saving. This can include pilot function time, instrument time, cross-country time, landings, and remarks.
If you use the Flight time role control beside Total flight time, the automatic placement of PIC, SIC, student, instructor, and SE or ME role time can update when you choose a role, change the total time, or change the selected aircraft or registration. Review the visible breakdown fields after those changes before saving.
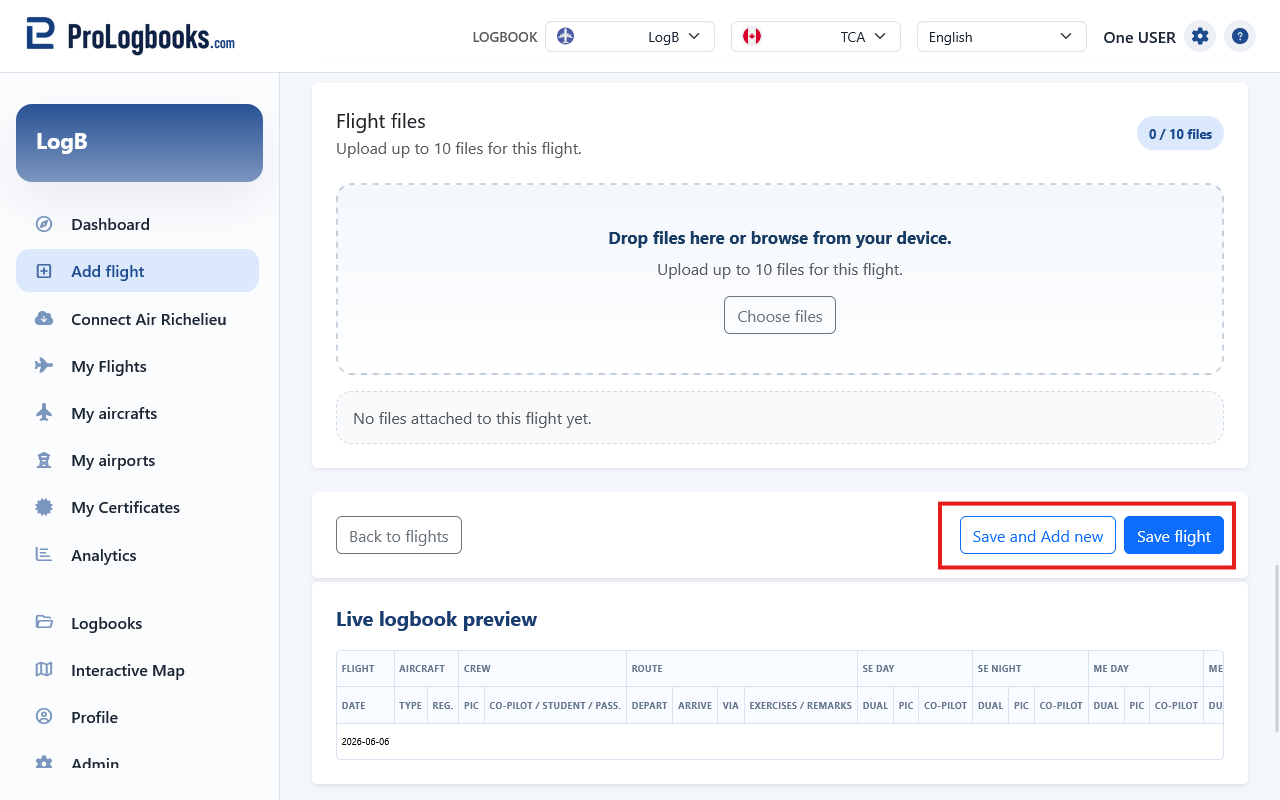
Use Save flight when you are done with one record. Use Save and next when you want to create another flight immediately with the next form prefilled from the one you just saved.
- Move through the remaining cards from top to bottom.
- Fill only the values that apply to this flight in the current regulatory view.
- Choose the Flight time role after the related aircraft and total time fields look the way you want, then review the breakdown fields again if you later change the aircraft, registration, role, or total time.
- Review totals, landings, and role fields once before saving.
- Select Save flight to finish one entry, or Save and next if you want the next form to open immediately.
Attach flight files when you need supporting documents
If your current plan includes file uploads, a Flight files card appears near the end of the form. Use it when you want to keep supporting documents such as receipts, release paperwork, or other flight-related files with the record.
Drag files into the drop area or browse from your device. The selected files appear immediately under the drop area so you can confirm what will be attached before you save the flight.
The same card is used again when you edit a saved flight. On the edit page, existing files stay listed there, and you can mark one for deletion or add new files before saving the updated flight.
- Scroll to the Flight files card near the end of the form.
- Drop files onto the area or use Choose files.
- Review the file list shown under the drop area before saving.
- Remove a selected file if it should not be attached, or keep it there and save the flight.
- On an edit page, mark an existing file for deletion only when you are sure it should be removed from that flight.
If something goes wrong
- If the form rejects a time field, check the expected format shown in the page. Some views use clock-style durations and others may use decimal hours.
- If Save does nothing and the page stays open, scroll back to the first red validation message. The problem is usually a required field, an invalid time format, or a missing linked selection.
- If you cannot find the right registration or airport in the form, create it first in My aircrafts or My airports and then reopen Add flight if needed.
- If PIC, SIC, student, instructor, SE, ME, day, or night fields are not shown where you expected, confirm the aircraft or registration, the departure and arrival times, and the sun or moon icons beside those time fields.
- If you already have many flights in another export or spreadsheet, use Import from file instead of creating each record one by one.
- If the Flight files card does not appear, your current plan may not include file uploads for flights.
- If you cannot add another file, check the file count shown on the card and remove one first if the limit has already been reached.
- If the page sends you back to logbooks, the selected logbook may have become inactive on the current plan.